The Seating workspace is a floor-plan canvas for your reception. You add tables, arrange them to match the room, and seat every guest from your RSVP list. Because the plan draws on your replies, it works best once most RSVPs are in; reading the replies themselves is covered in Manage replies and export for your caterer.
Add your tables
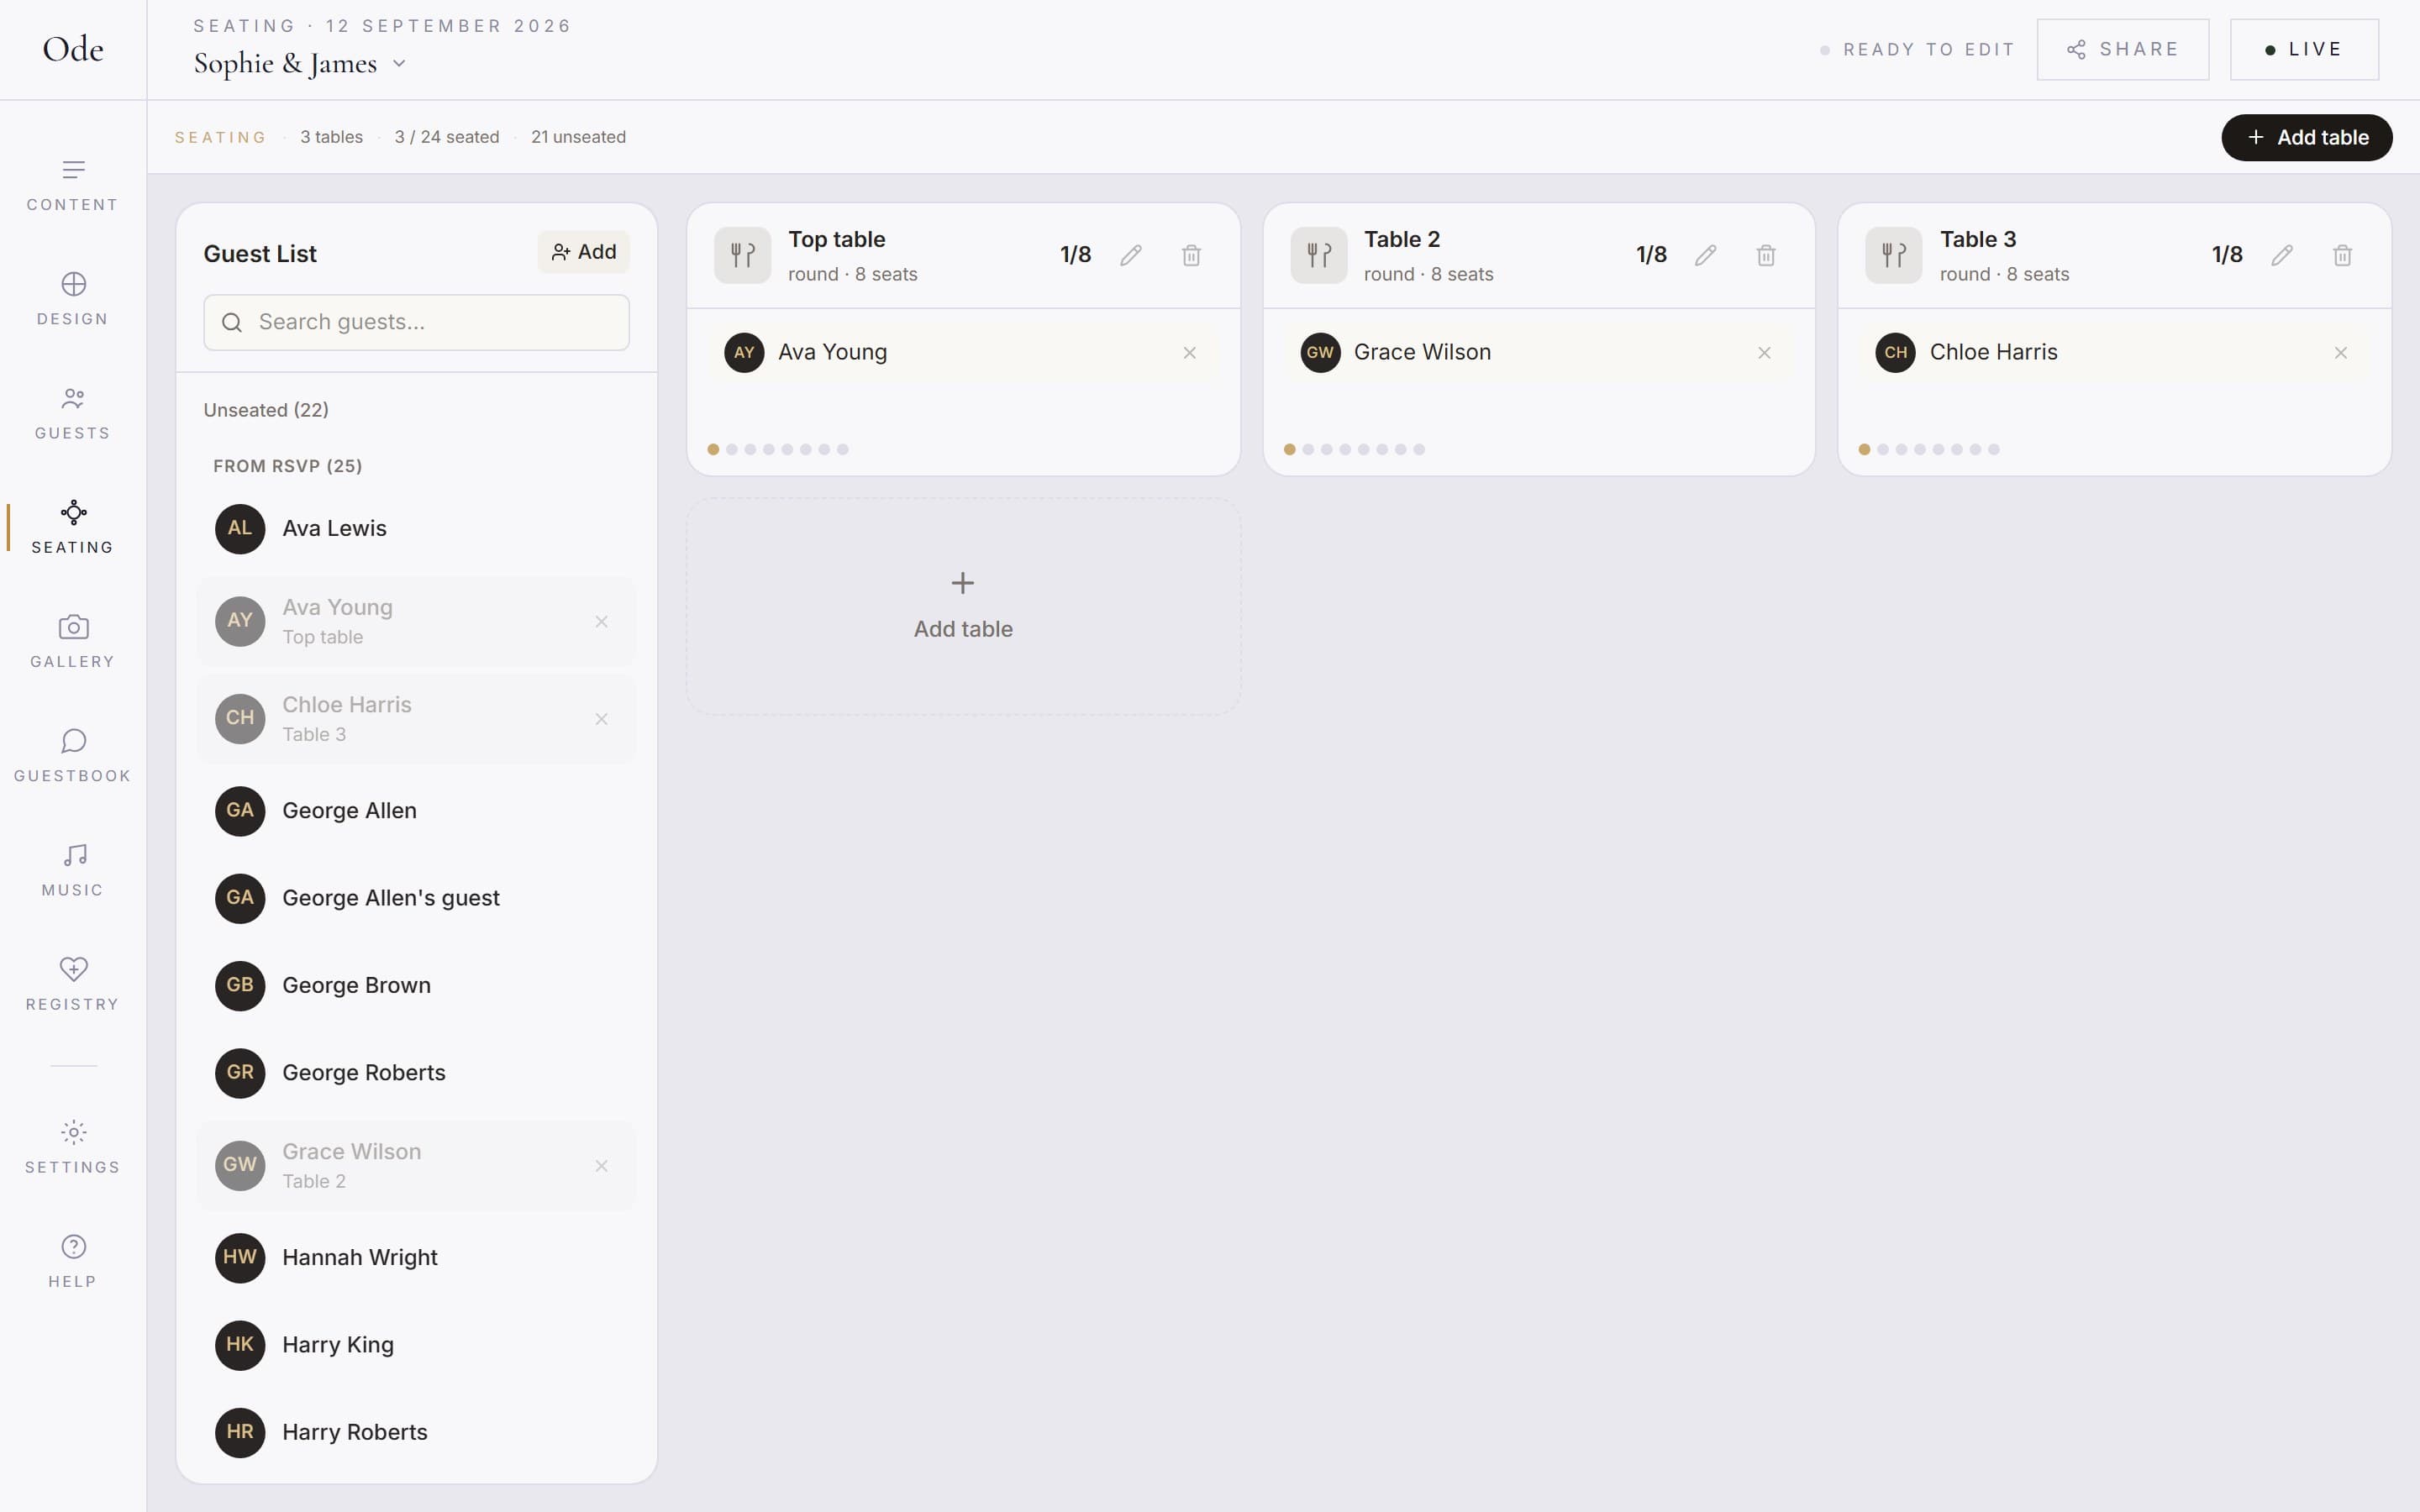
Create a table.
Click + Add table and a new table appears on the canvas, ready to configure.
Choose a shape and seat count.
Pick Round, Rectangle or Oval, then set how many seats the table has. Seats are drawn around the edge, and you can change the count later if the venue swaps furniture on you.
Name the table.
“Table 1” works, but so do place names, songs or anything else you’ve themed the tables around. The name is what guests see when they look themselves up.
Mark the top table.
The Head table toggle marks one table as the top table, so it’s labelled clearly on the plan and on the printed version.
Once your tables exist, drag them anywhere on the canvas to mirror the real room: the top table by the window, the dance floor gap in the middle, the quiet corner for grandparents. The layout is yours to arrange.
Seat your guests
The guest sidebar lists everyone from your RSVPs, so there’s no retyping. Use the Find a guest search box to jump to a name, then drag the guest onto a seat. Each guest’s meal choices travel with them, which means the plan doubles as a service sheet: the venue can see who at table four ordered the fish.
Some people on the day won’t have RSVP’d, such as the band, the photographer or a late yes. Add them with + Add guest and seat them like anyone else.
Publish the plan to your page
The plan is private while you build it, so you can shuffle tables for weeks without guests seeing the drafts. When it’s ready, use the publish toggle to make it visible on your page. Guests then search their own name and are shown their table, which saves the crowd around an easel at the door.
If you’re wrestling with who sits where, our seating plan etiquette guide covers the common dilemmas, from divorced parents to the singles table.
Print it for the venue
A print-ready view at Seating > Print lays the whole plan out on one sheet: every table, every name, the head table flagged. Hand it to the venue coordinator, or frame it as a welcome sign for guests who prefer paper to phones. It reflects whatever the plan looks like when you print, so run it off once the plan is final.