Creating an event takes a few minutes. The new-event wizard walks you through four steps, shown in a sidebar on the left so you always know where you are. Nothing you choose here is final: names, date, colours and fonts can all be changed later in the studio.
The four steps
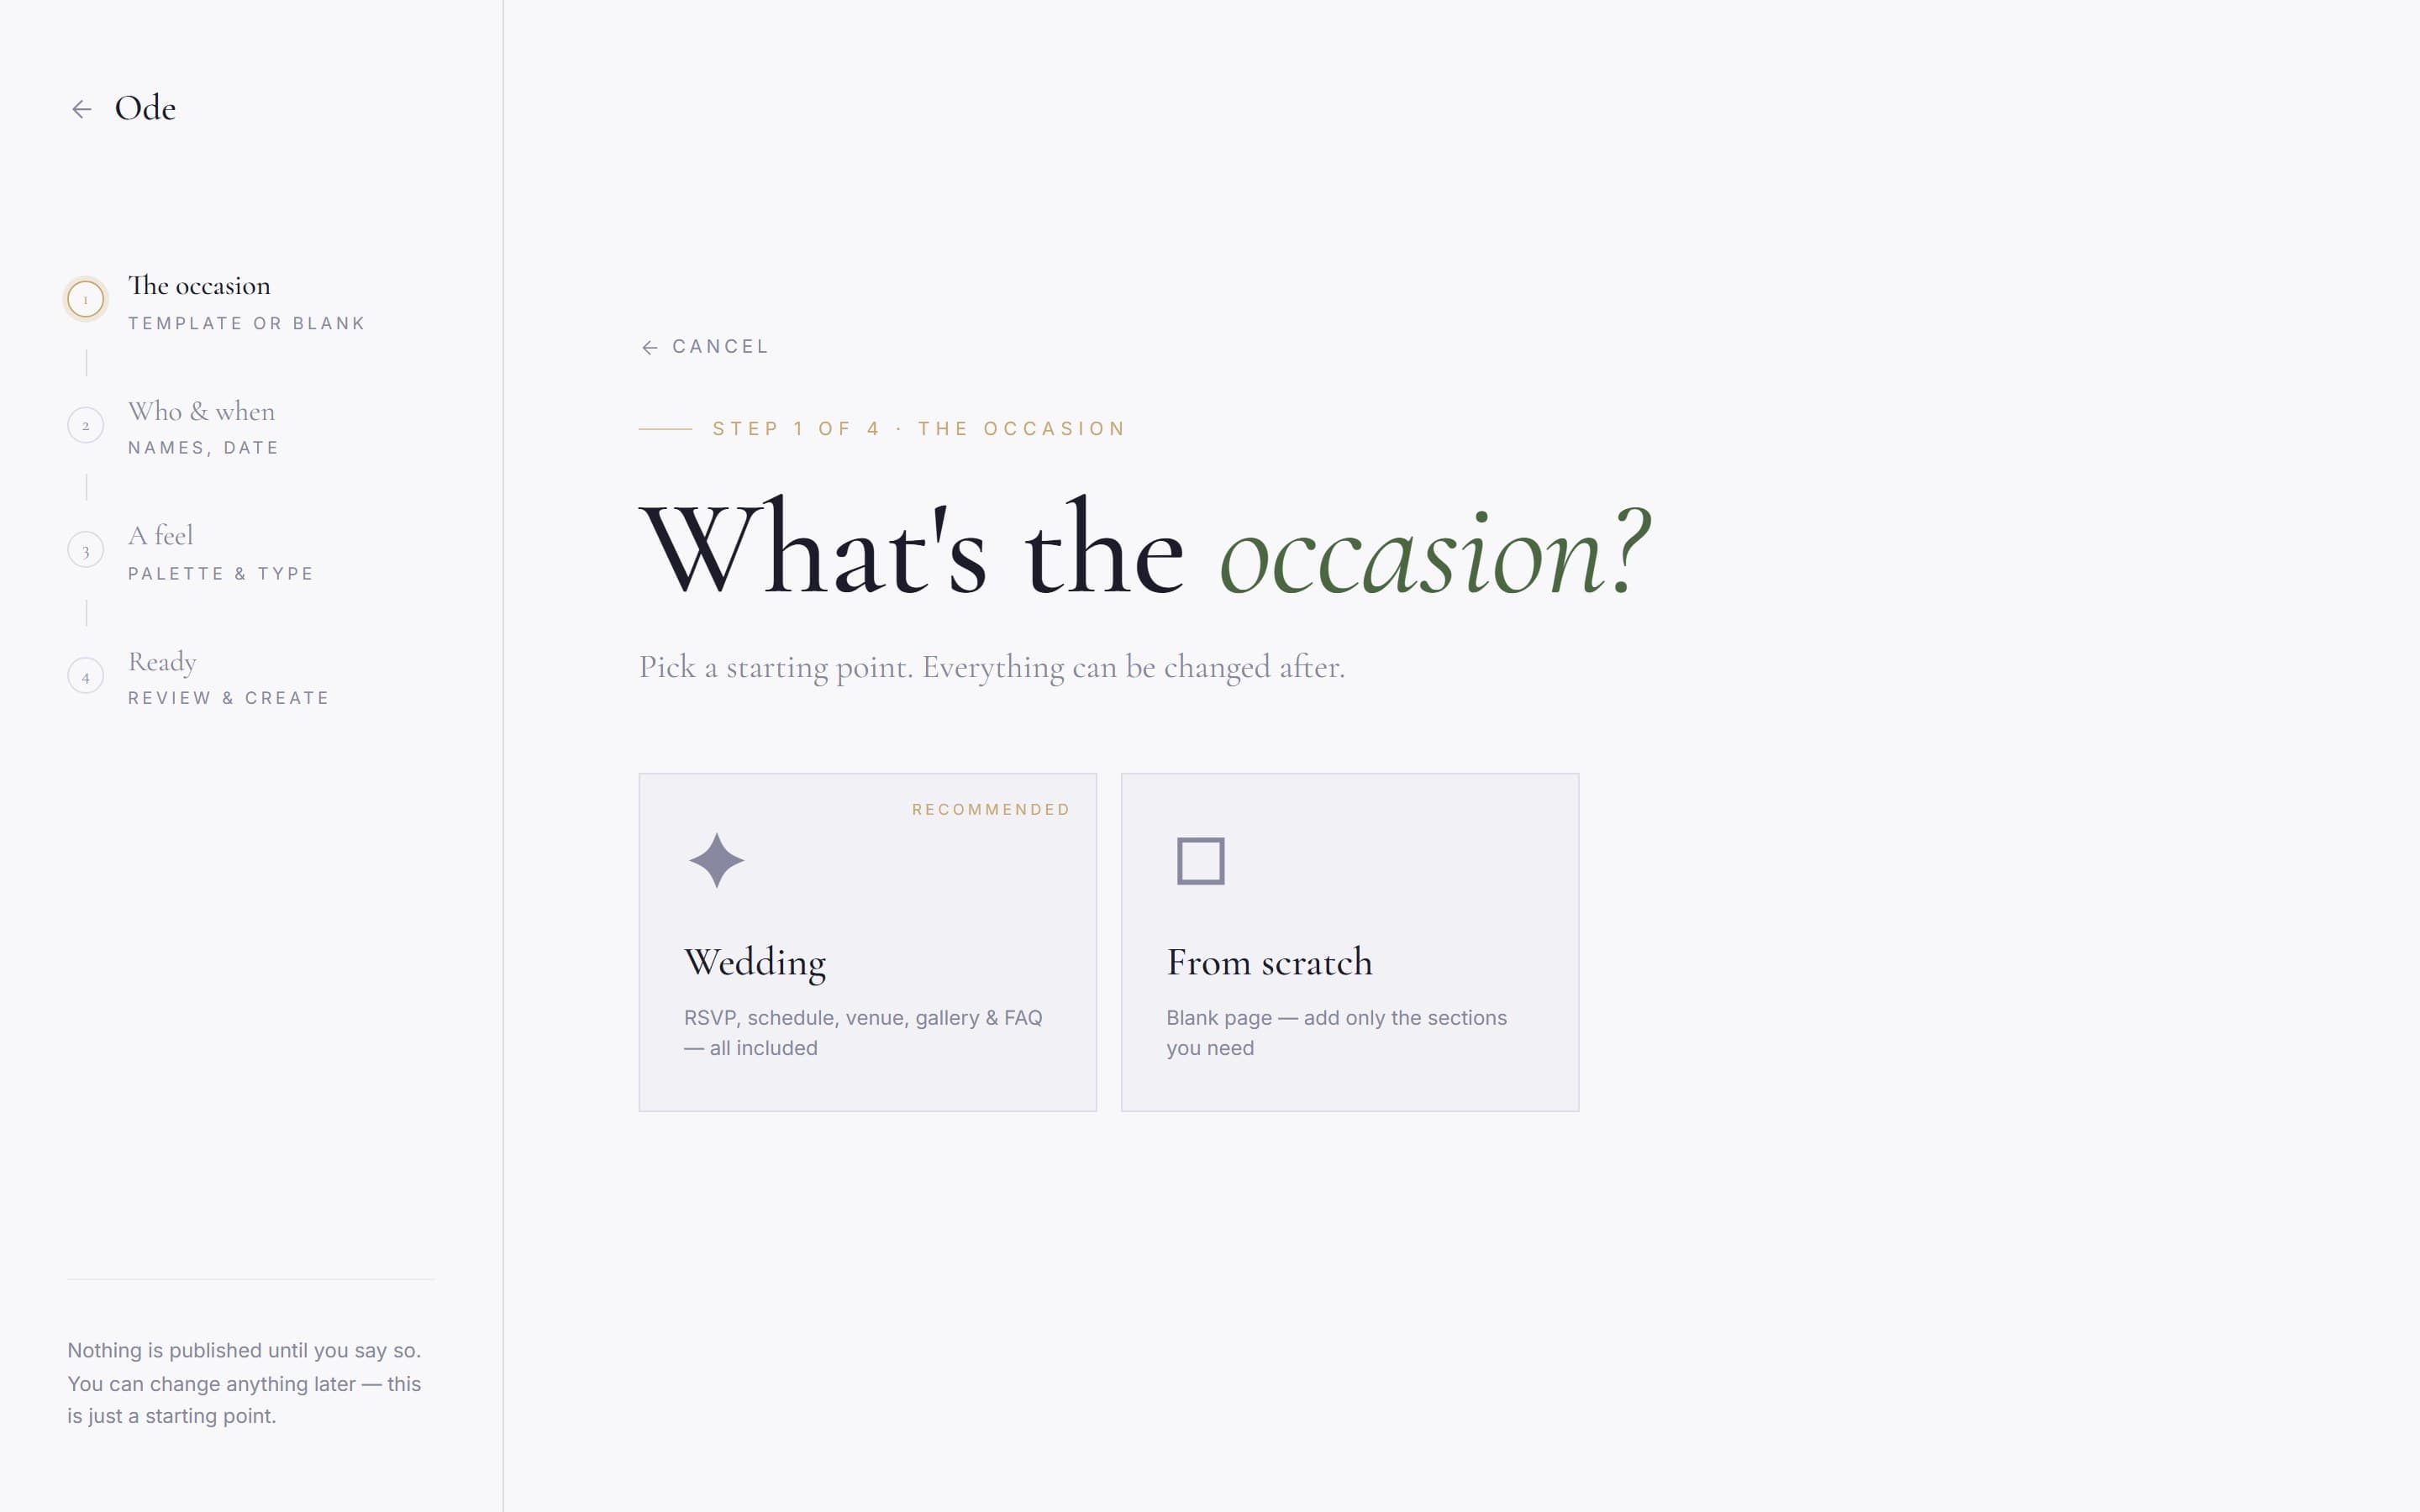
The occasion.
Pick a starting point. The Wedding template, badged Recommended, gives you a page pre-filled with the sections most weddings use. From scratch starts you with an empty page if you’d rather build it up yourself. Either way you can add or remove sections later.
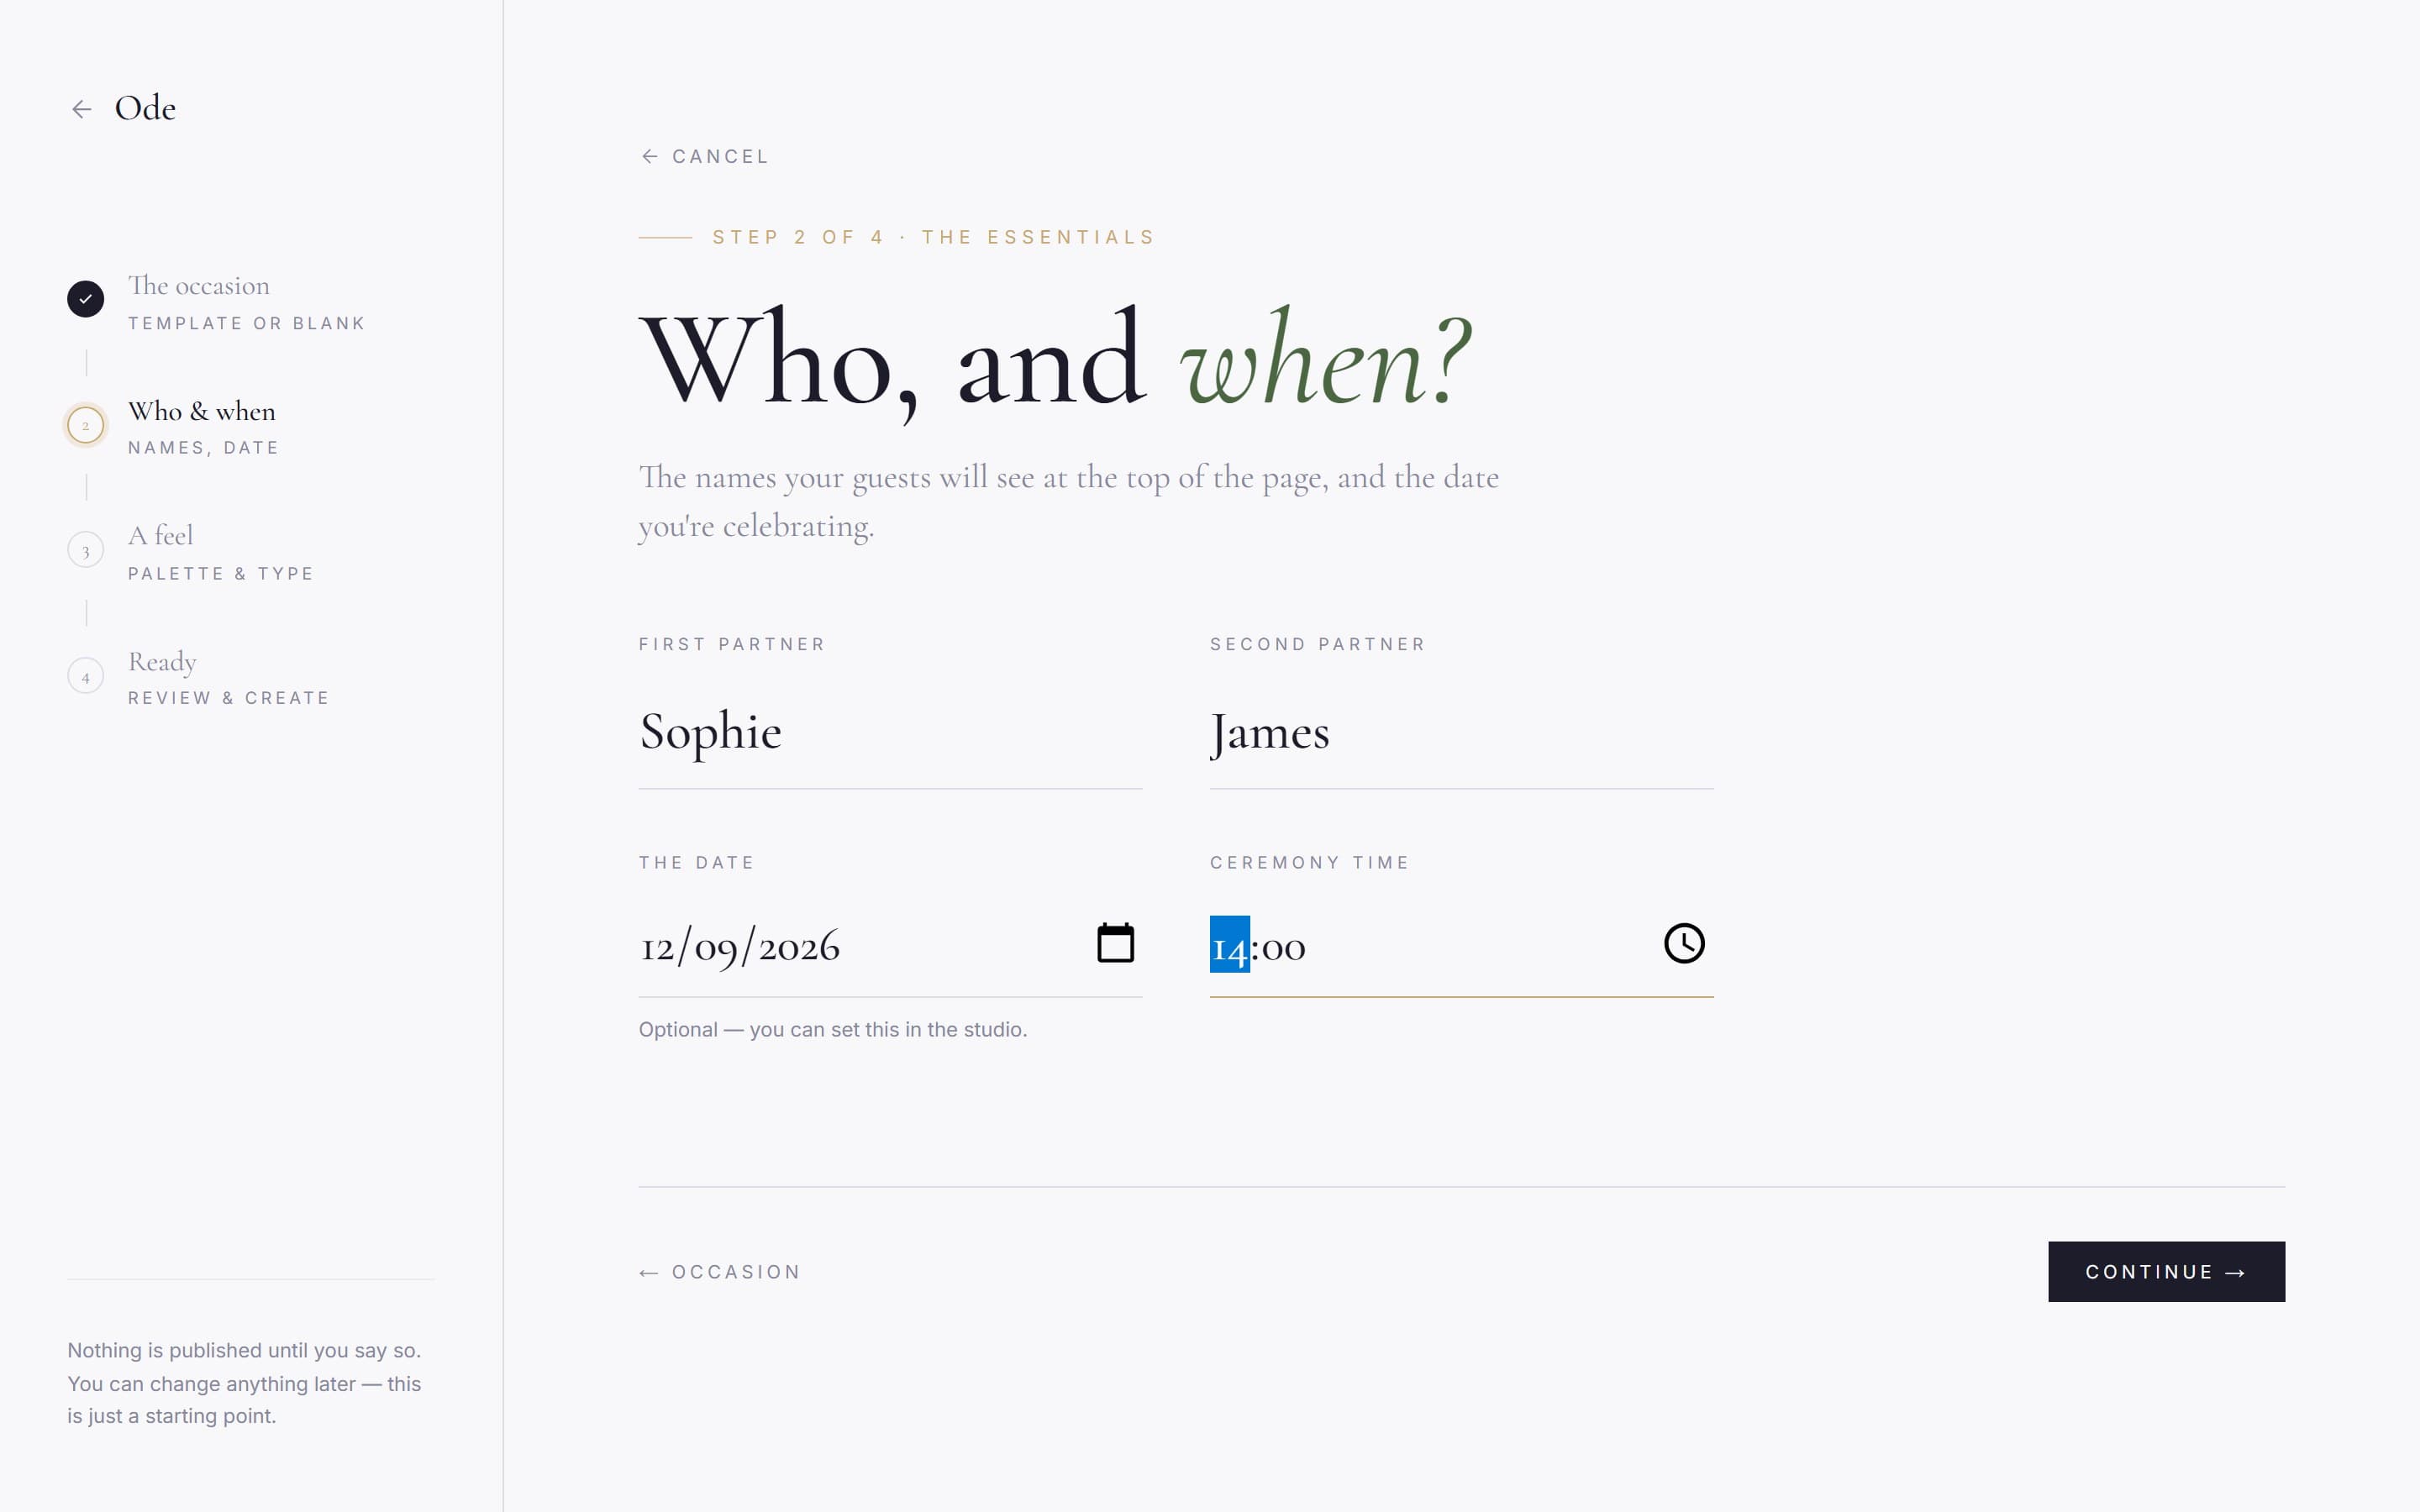
The essentials.
For weddings you’ll see First partner and Second partner fields; these become the names on your page. You can also add the date and a ceremony time, but both are optional at this stage. If you haven’t confirmed a venue yet, leave the date blank and set it later.
A feel.
Choose a colour palette from the grid, then a type style from the grid below it. These set the look of your page, and both are fully changeable later in the Design workspace, so pick whatever feels closest and move on. The palettes are designed to work as a set, with an accent colour you can fine-tune later if none of them is quite right.
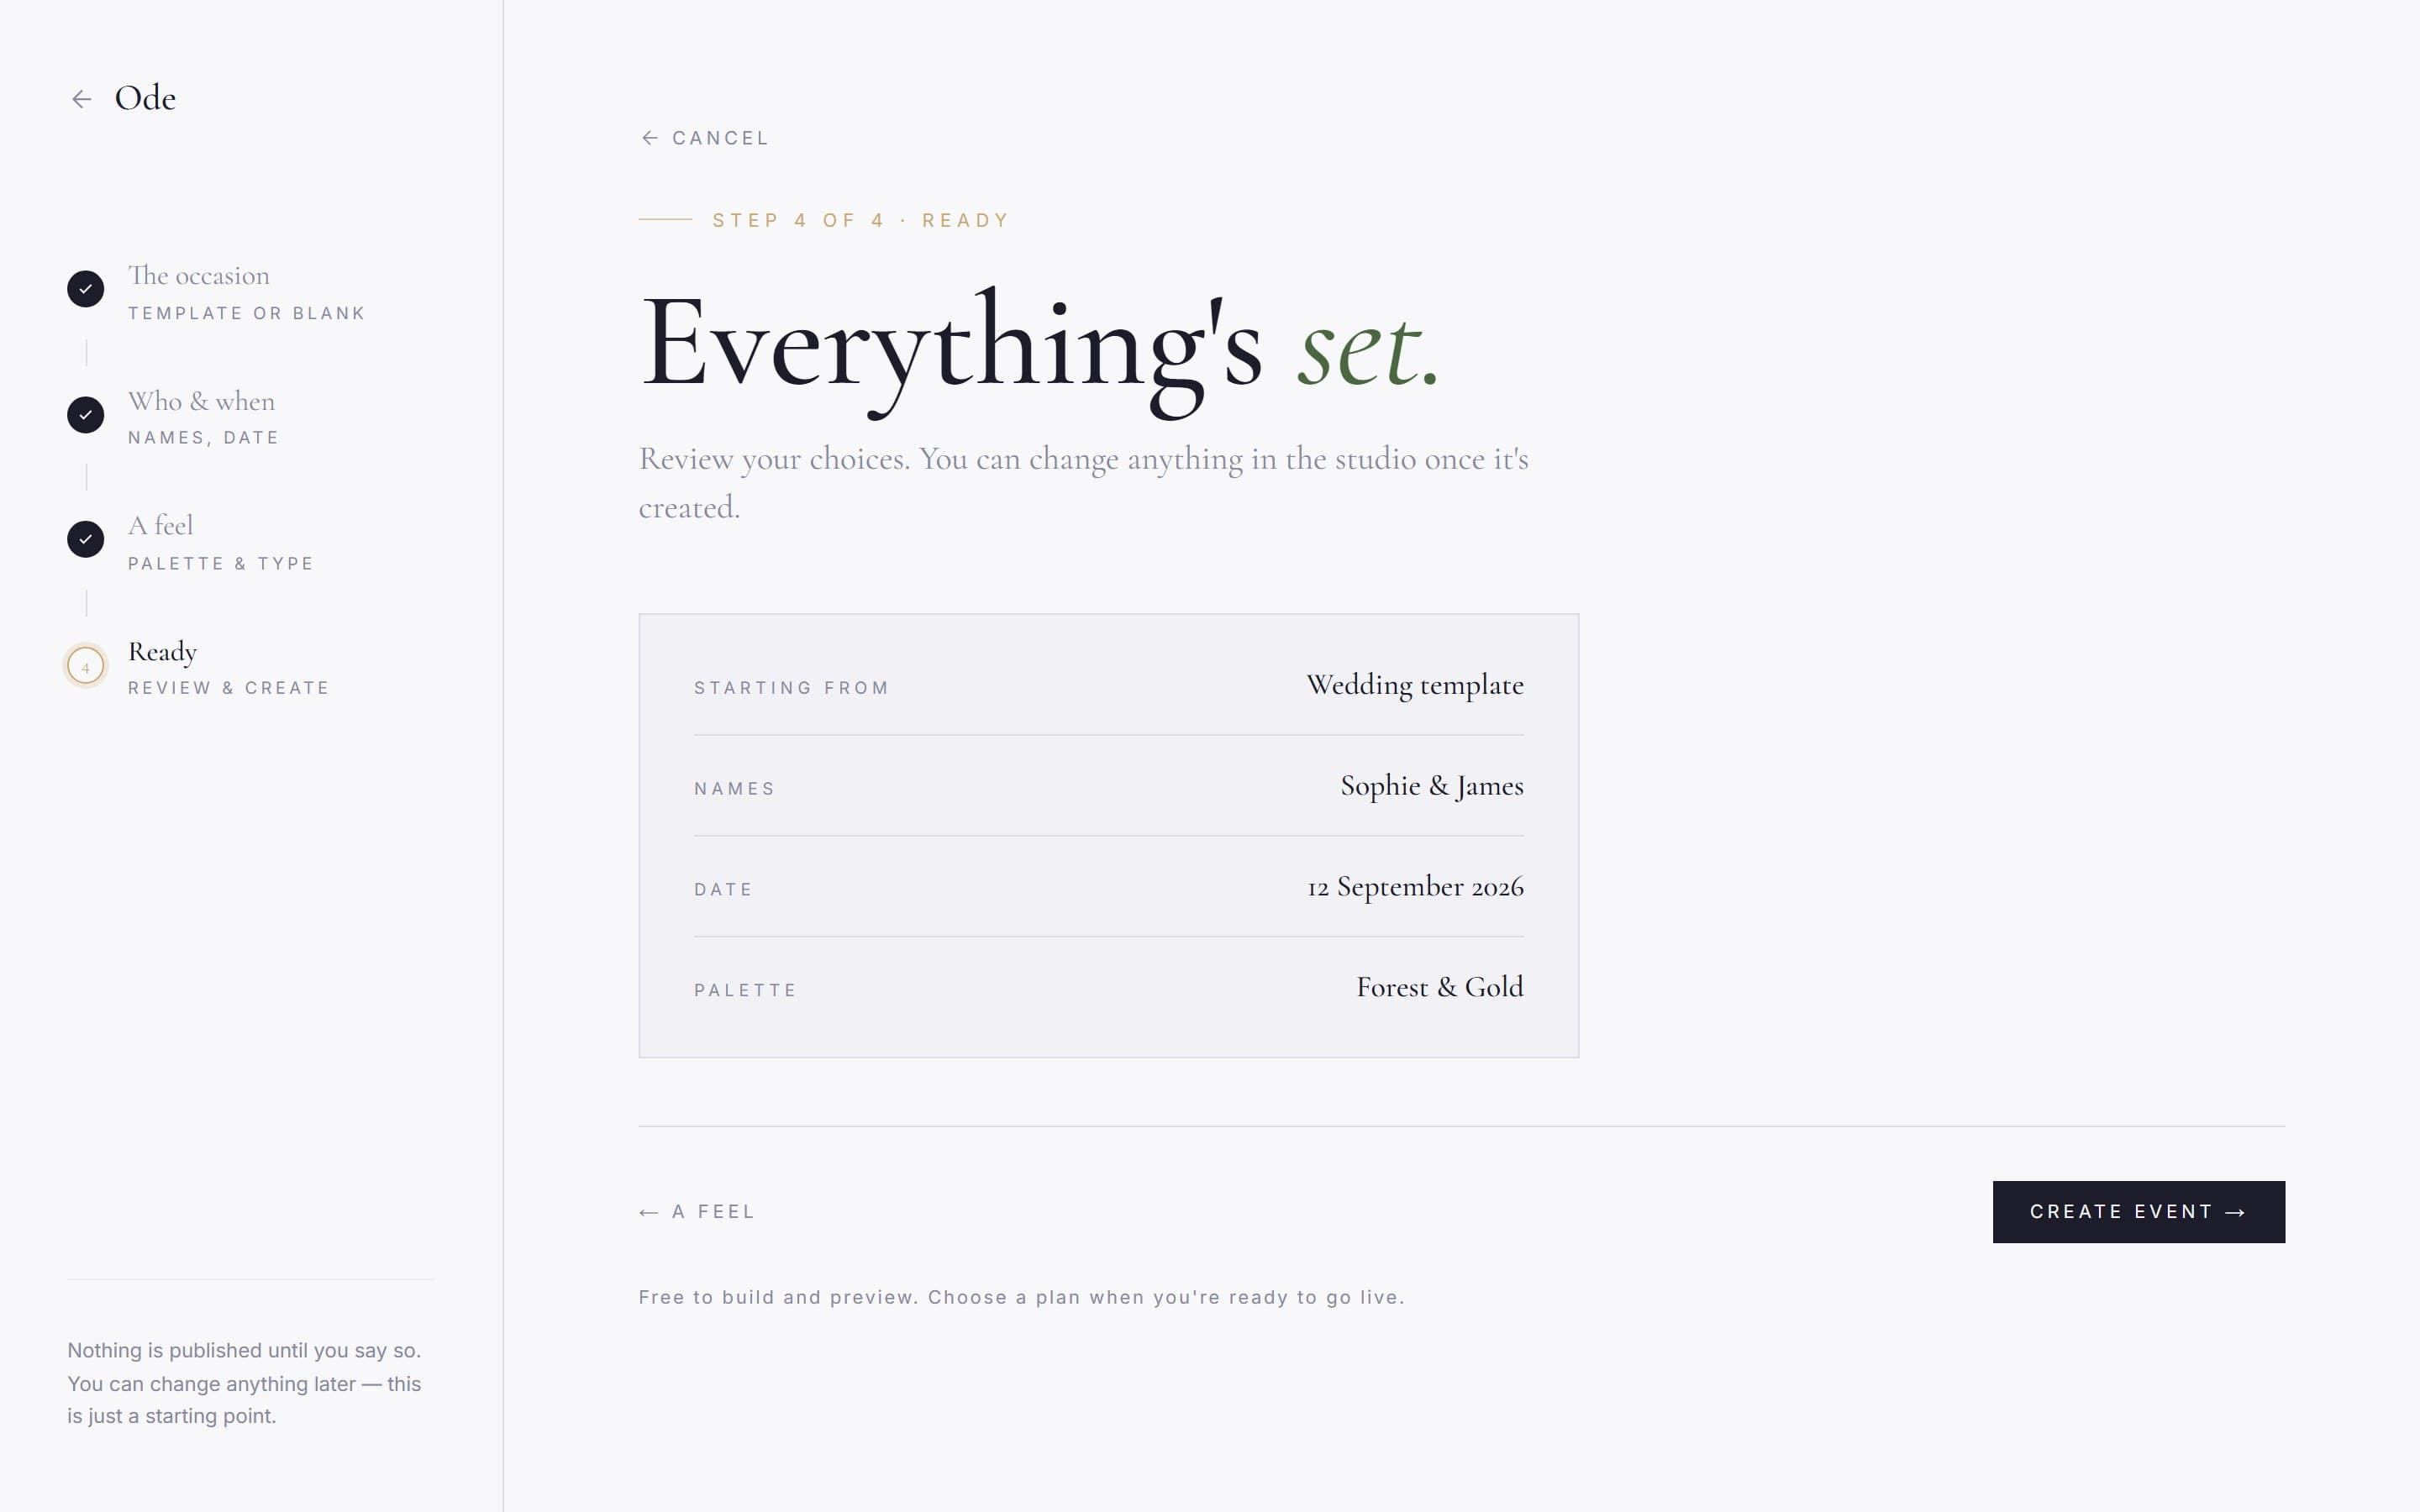
Ready.
The final step shows a summary of your choices. Press Create event → and your event is made. The footer here reads Free to build and preview. Choose a plan when you’re ready to go live. — which is exactly how it works. You don’t pay anything, or even pick a plan, until you decide to publish.
What happens next
After creating the event you land in the studio: a live preview of your page in the middle, with workspaces down the left side for content, design, guests and the rest. This is where you’ll do all your editing from now on. The Build and design your page guide covers it in detail.
Can I change my answers later?
Yes, all of them. Names and the date are edited in the studio’s settings, the palette and fonts in the Design workspace, and sections can be added or removed at any point. The wizard exists to get you a sensible starting page quickly, not to lock anything in. If you chose the wrong template, the simplest fix is to create a fresh event and delete the old one; drafts cost nothing, so there’s no harm in a false start.