How it works
From sign-up to the last dance, in five steps
This is the whole process: build the page in an evening, share one link, and let the RSVPs and photos arrive on their own.

01
Sign up and create your event
Create a free account with your email; there's no card step. The wizard asks for your two names, the wedding date and the web address you want (ode.events/events/your-names). The address is the link on your invitations, so it never changes once the event exists. Pick a palette and a font, and Ode creates a draft page from the wedding template, with countdown, your story, schedule, photo album, venue, FAQ and RSVP sections ready to fill in. Or start from scratch with a blank page.
02
Fill in your sections with a live preview
Click a section and type into it: the venue address and travel notes, the running order, meal choices for the RSVP, your story, the questions you keep being asked. Add or remove sections, reorder them, swap colours. Every edit autosaves and the preview shows the page exactly as guests will see it. Plan for an evening.
03
Publish and share one link
Until you publish, guests who open the link see 'Not live yet'. Publish opens the plan chooser: pick Free (no card needed, one live free event per account) or pay once for a paid plan. From then on the page is Live and every edit you make appears to guests immediately; there is no separate publish step for content. Send the link by message or email, or print the QR code on your save-the-dates and table cards. Add a password if you want the page private.
04
Watch the replies arrive
RSVPs land in your dashboard with meal choices attached, and guests who flag a dietary need are marked for you to follow up. On Plus and above you can pre-load your guest list, so the dashboard also shows who hasn't replied yet, and per-course totals and a PDF are ready for your caterer whenever you need them.
05
Seat guests and run the day
Once the RSVP deadline passes, drag guests onto tables in the seating plan builder (Plus and above), or tap them into place on your phone. On the day, guests search their name on the page to find their table. The photo album opens on the wedding day by default; you can move that date until the first photo arrives, after which it locks. Afterwards, set the page to Ended: guests can still read it, but RSVPs, uploads, guestbook messages and gift claims close.
What you end up with
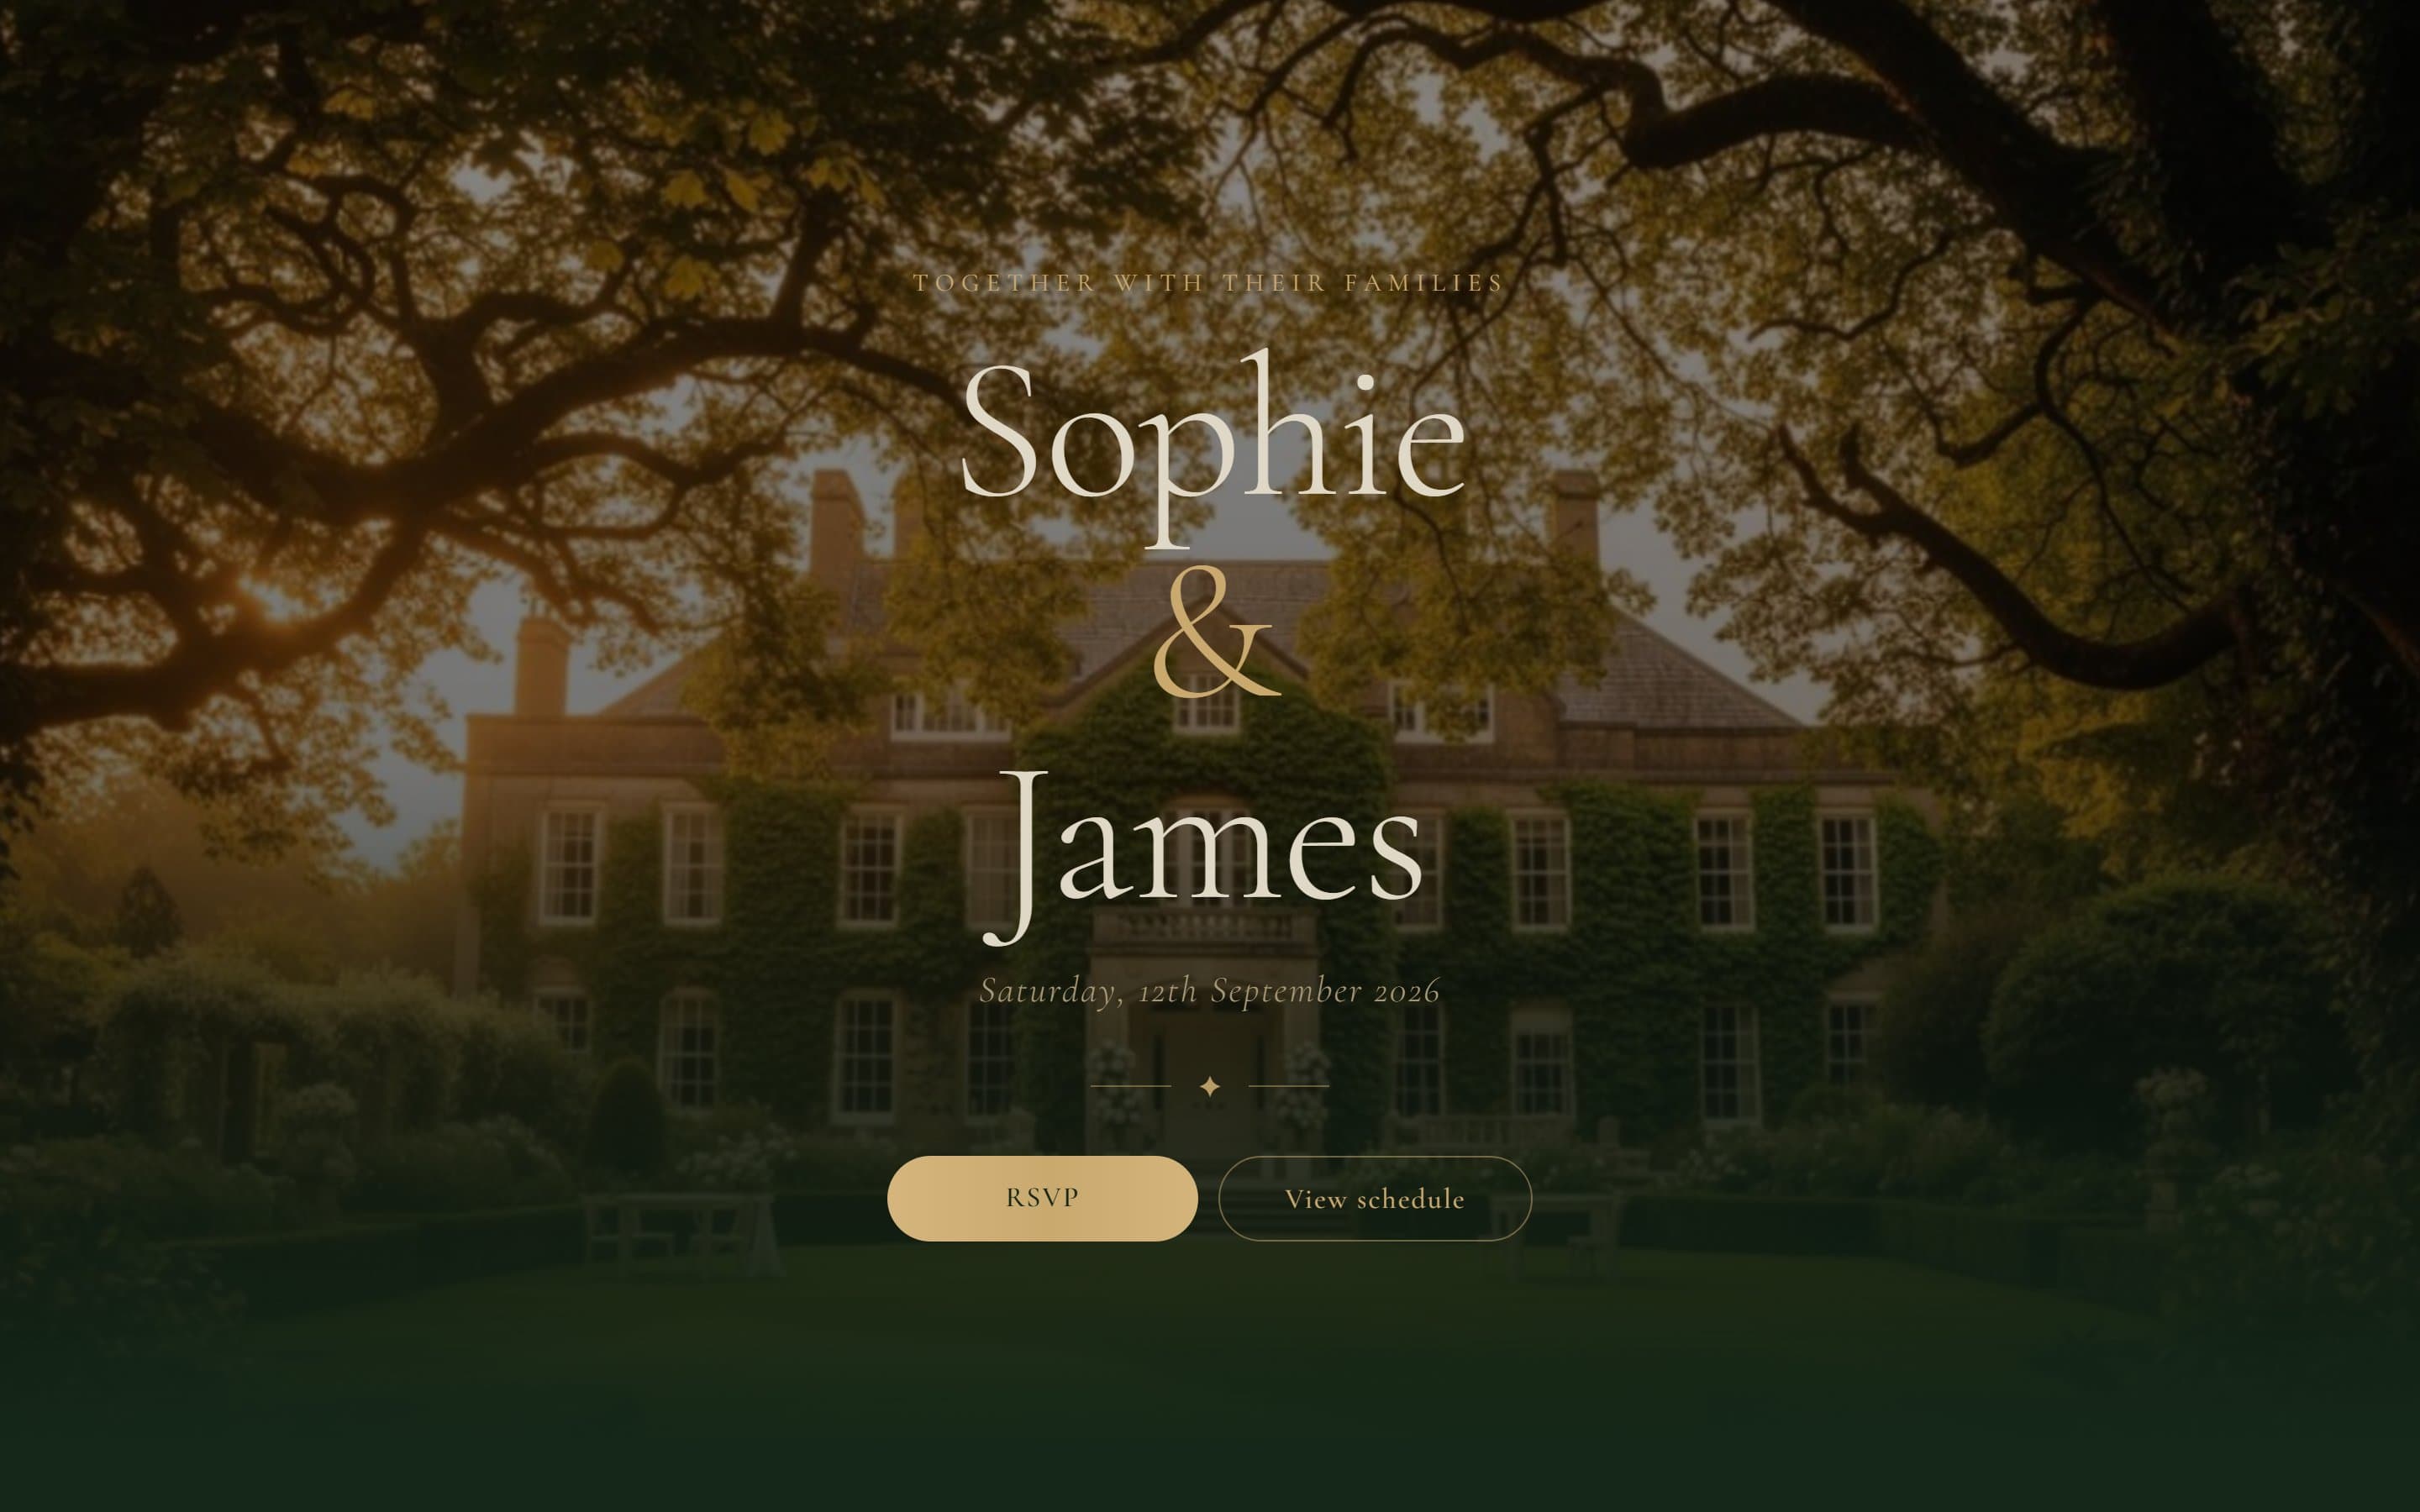
Sophie & James is the example wedding built exactly this way. You can click through every section as a guest before you build your own; nothing you enter on the demo is saved.