RSVPs live in two places in the studio: the RSVP section on your page (what guests see) and the Guests workspace (where you configure the form, the menu and the guest list, and where replies arrive). This guide covers the setup; reading the replies is covered in Manage replies and export for your caterer.
Choose your RSVP mode
When you add an RSVP section, you choose one of two modes:
- Open RSVP — anyone with your link can reply. Guests type their own names, add plus-ones if you allow them, and pick meals. This is the free-plan mode and suits most weddings.
- Guest-list RSVP — you load the guest list in advance and guests find their name to reply. Nobody who isn’t on the list can RSVP, and you control plus-ones per guest. Available on Plus and above.
Add the section and configure the form
Add the RSVP section to your page.
In the Content workspace, open the section library, find RSVP and pick your mode. The section appears in the live preview straight away.
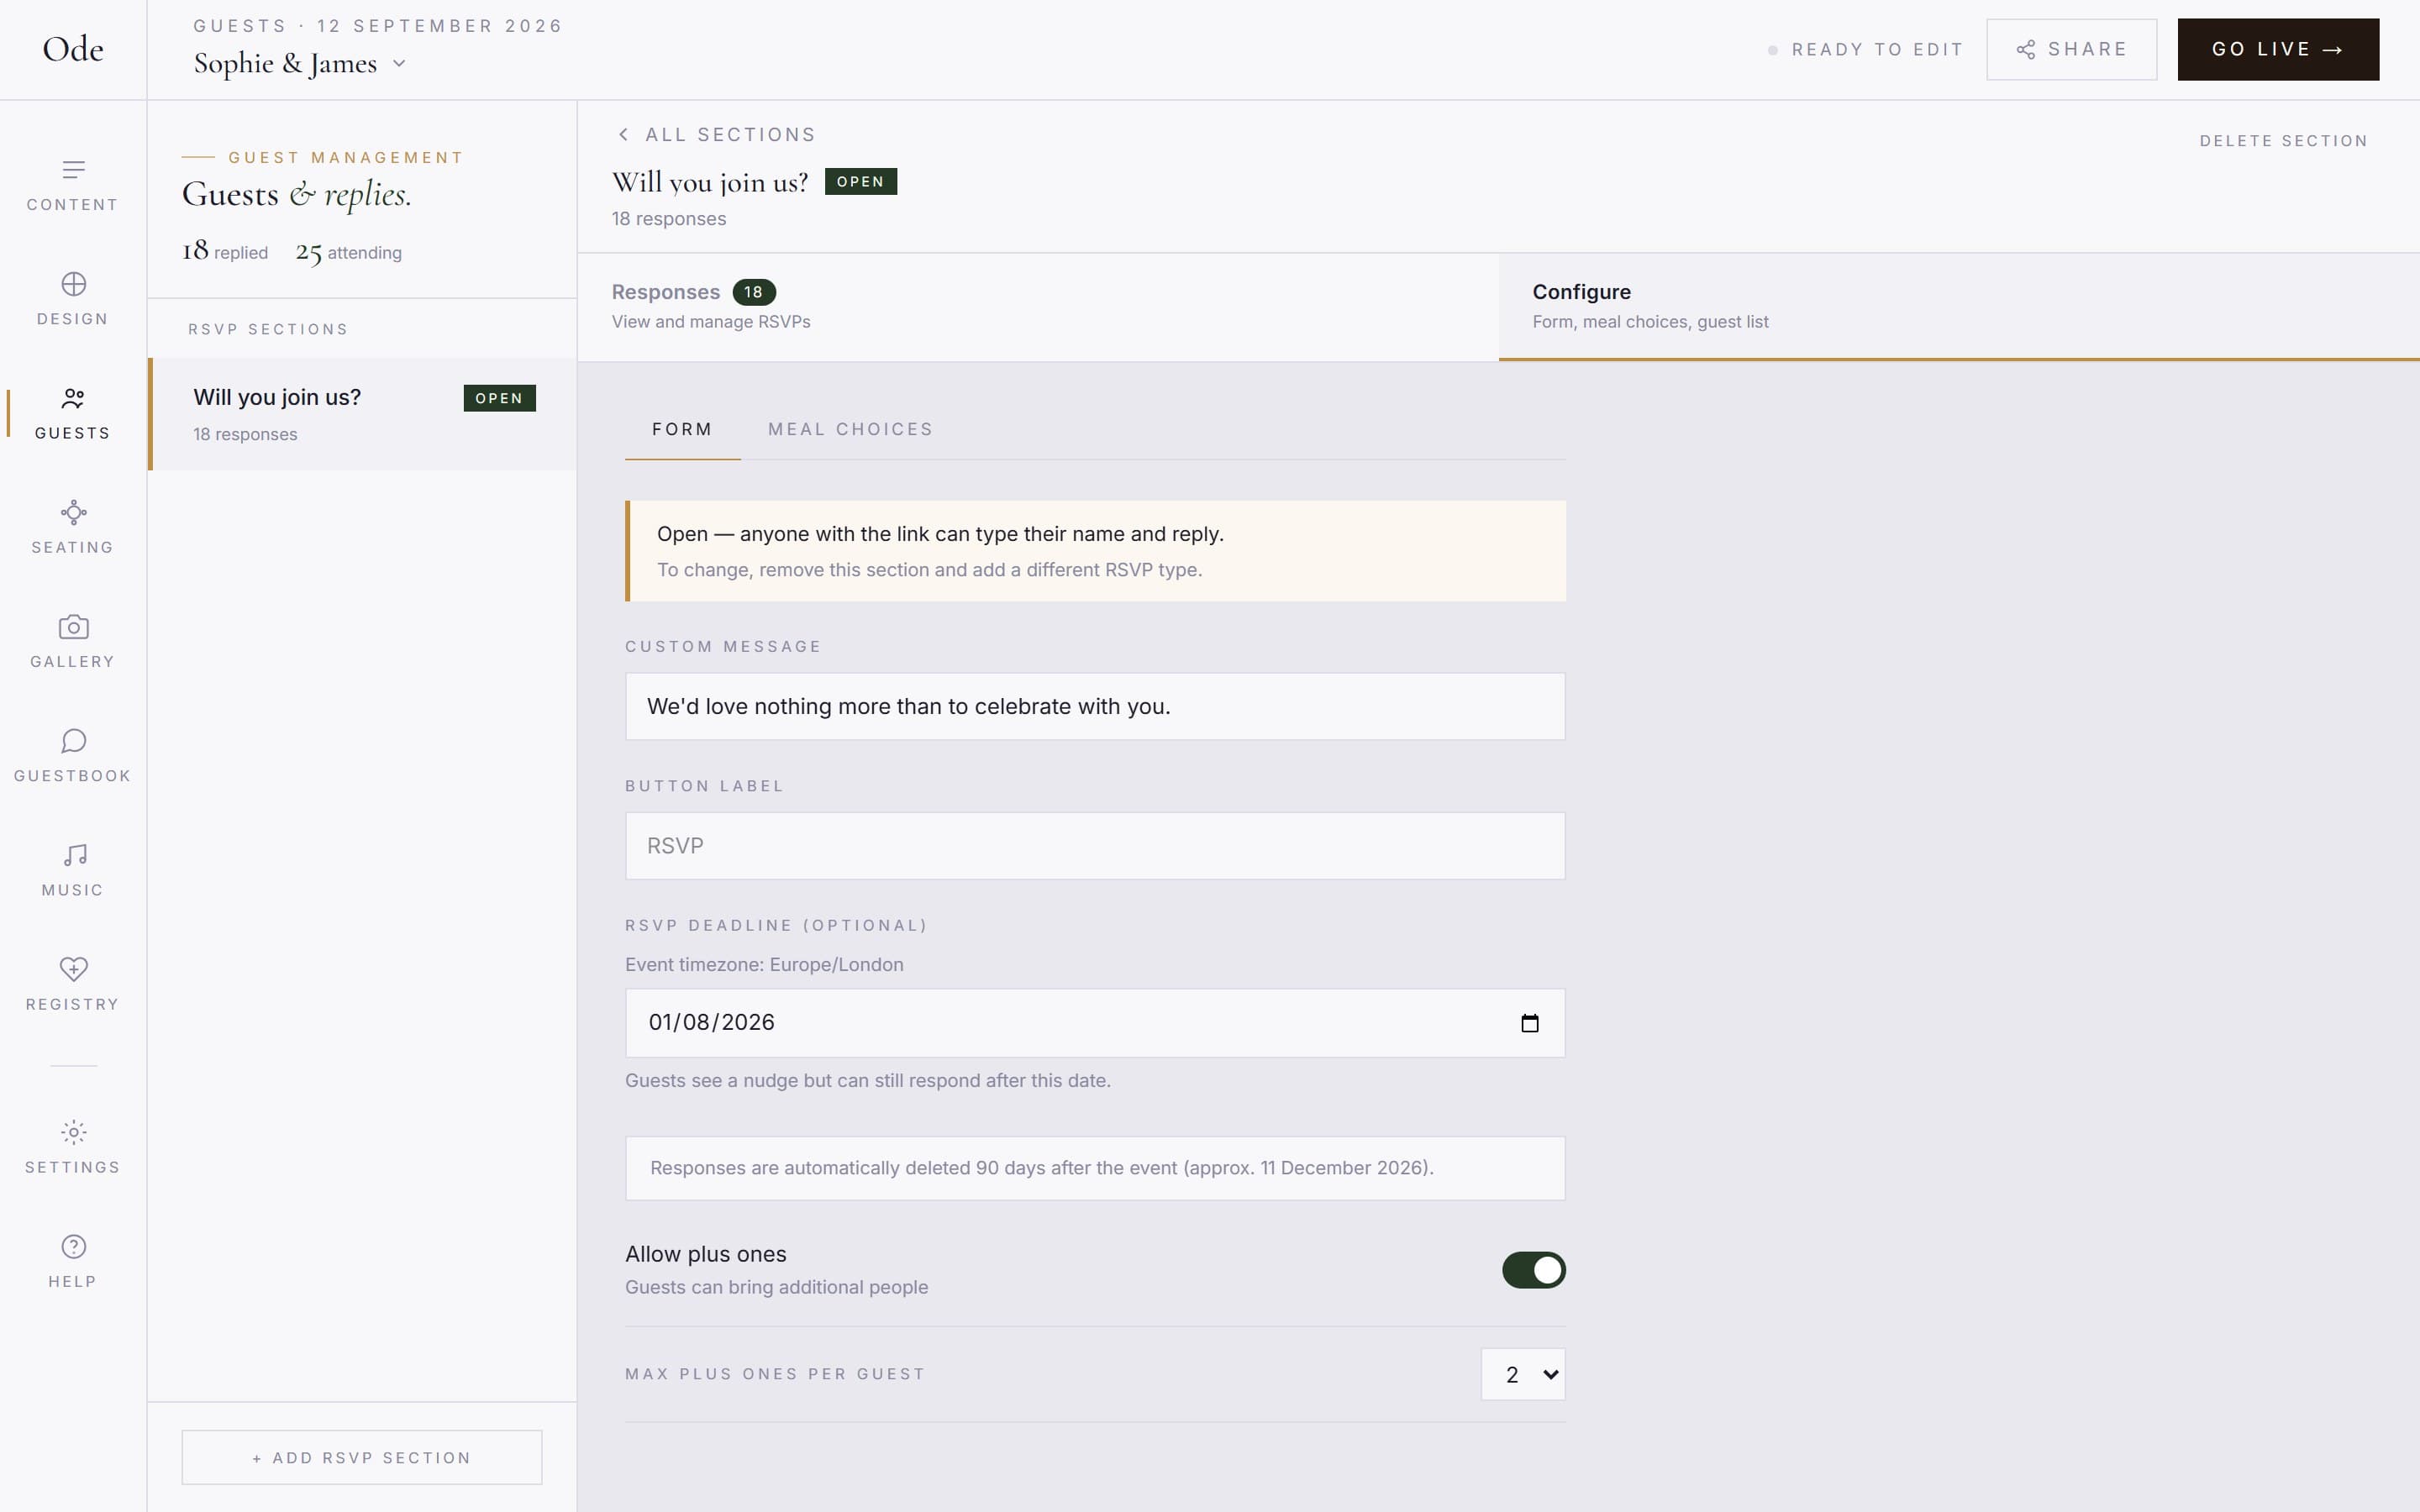
Open the Guests workspace.
Selecting the RSVP section shows a Go to Guests button; form settings, meal choices and the guest list are all managed there rather than in the page editor.
Build your menu.
Add courses (starter, main, dessert) and the options for each. Guests pick one option per course when they reply. Every menu also offers a Speak to host option, which flags the guest for a dietary follow-up without collecting any medical or religious detail through the form.
Set your deadline.
Pick the date replies should arrive by. Four to six weeks before the wedding is the usual choice; our RSVP deadline guide covers how to pick yours.
Import your guest list (guest-list mode)
In guest-list mode, the Guest list tab in the Guests workspace is where names live. You can add guests one at a time, or upload a CSV with your guest names to import everyone at once. Each entry carries the guest’s name, their allowed plus-ones and their reply status, and you can edit any of it later.
What guests see
Guests open your link, tap RSVP and answer in a short flow: attending or not, party size, then a meal choice per course, then an optional message. There are no accounts and nothing to install. Replies appear in your Guests workspace the moment they’re sent.