You don’t have to run the whole event from one account. A co-organiser, a partner, a parent or a particularly capable best man, can share the dashboard with you. Co-organisers are managed in Settings under Co-organisers, where the panel is subtitled Invite someone to help manage photos and guests.
Send an invite
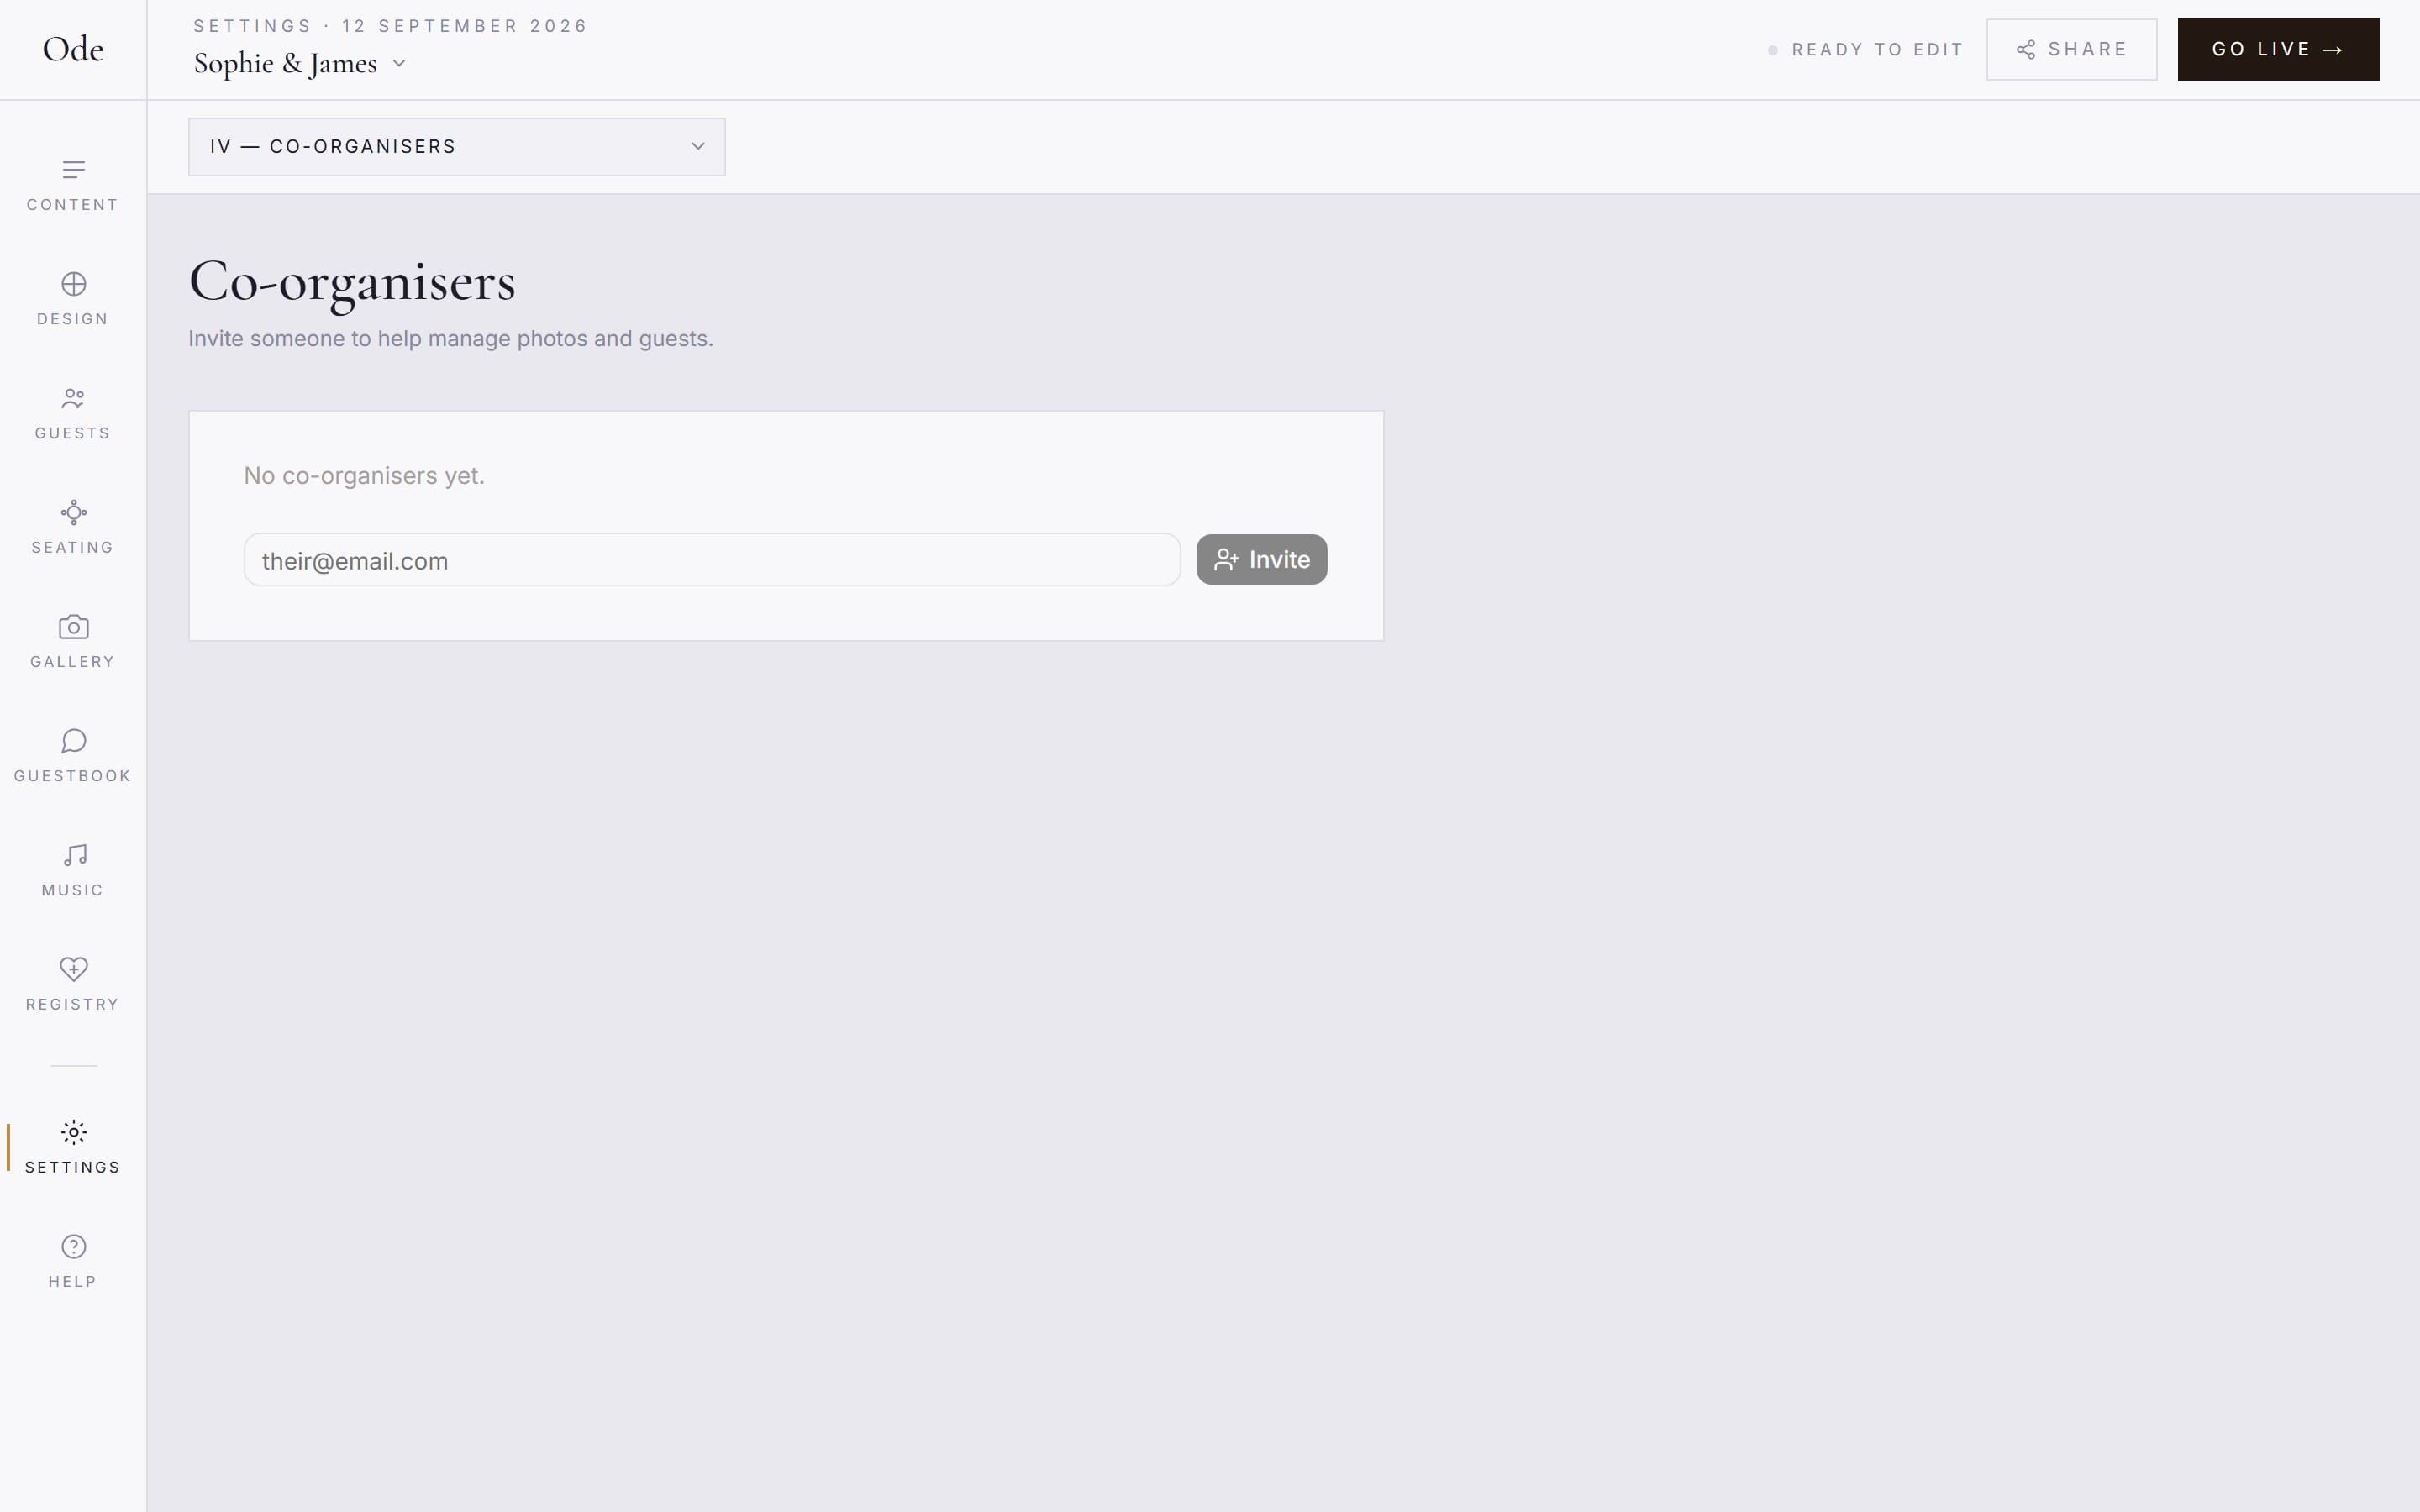
Open the Co-organisers panel.
Go to Settings and find Co-organisers. Only the event owner sees the controls here.
Enter their email and click Invite.
Type the email address of the person you’re inviting and click Invite. They’ll receive a link that adds them to the event when they open it.
Chase it if you need to.
The invite appears in a pending list with its expiry date. The invite is just a link, so if the email goes astray you can use Copy link and send it yourself by text or WhatsApp. Sent it to the wrong address? The × next to the invite revokes it.
What a co-organiser can do
Once they accept, a co-organiser works in the same studio you do. They can edit the page, manage RSVPs and moderate photos, which covers most of the jobs worth delegating: approving the album the morning after, chasing stragglers on the guest list, fixing a typo in the schedule while you’re at the venue.
Two things stay with the owner: managing co-organisers and billing. A co-organiser can’t invite or remove other co-organisers, change the plan or touch payment details. If you remove a co-organiser later, their access ends immediately.
How many you can invite
The number of co-organisers depends on your plan. Free has none, and the panel shows Upgrade to invite co-organisers instead of the invite form. Starter allows 1, Plus allows 2 and Complete allows 5. Plan details are on the pricing page.
Co-organisers sit alongside the other Settings controls for access, passwords and guest permissions, which are covered in Privacy, passwords and guest permissions.